
Chocolate Chip Scones
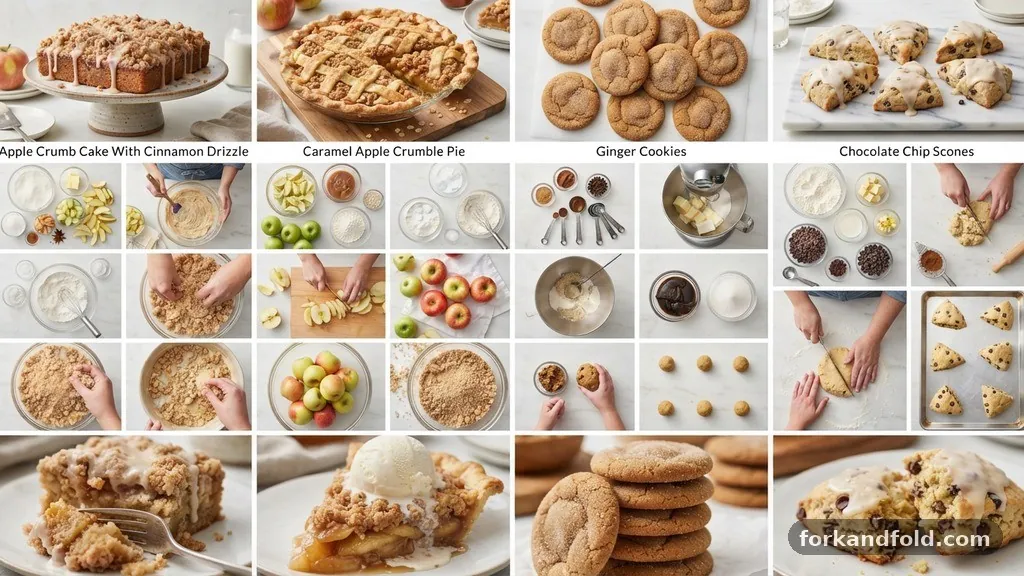
Baking a fresh batch of Chocolate Chip Scones at home transforms a simple morning routine into a cafe-quality experience. These pastries strike the perfect balance between a buttery, tender crumb and the rich, melting sweetness of semi-sweet chocolate. Whether you prefer them paired with a strong cup of coffee or served as an afternoon treat, mastering this process ensures a result that is far superior to store-bought versions.
By focusing on temperature control and gentle handling, you will achieve the signature flaky texture that defines professional-grade baked goods. This straightforward method makes it easy to enjoy warm, homemade pastries whenever the craving hits.
- Prep time: 15 minutes
- Cook time: 30 minutes
- Total time: 45 minutes
- Servings: 4
- Calories: 420 per serving
Ingredients
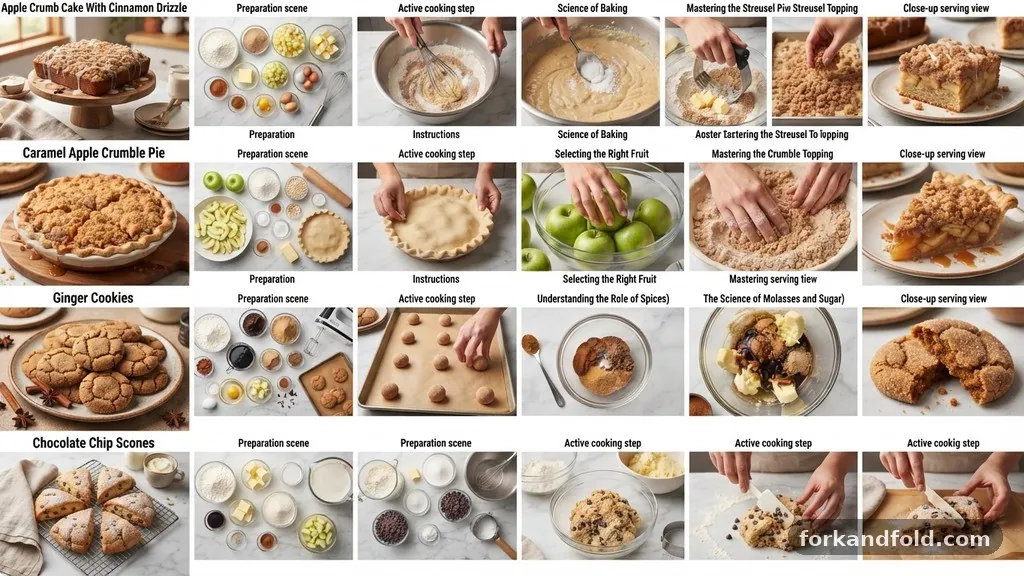
- 2 cups all-purpose flour
- 1/3 cup granulated sugar
- 1 tablespoon baking powder
- 1/4 teaspoon salt
- 6 tablespoons cold unsalted butter, cubed
- 1/2 cup semi-sweet chocolate chips
- 1/2 cup heavy cream, plus extra for brushing
- 1 large egg
- 1 teaspoon vanilla extract
Instructions
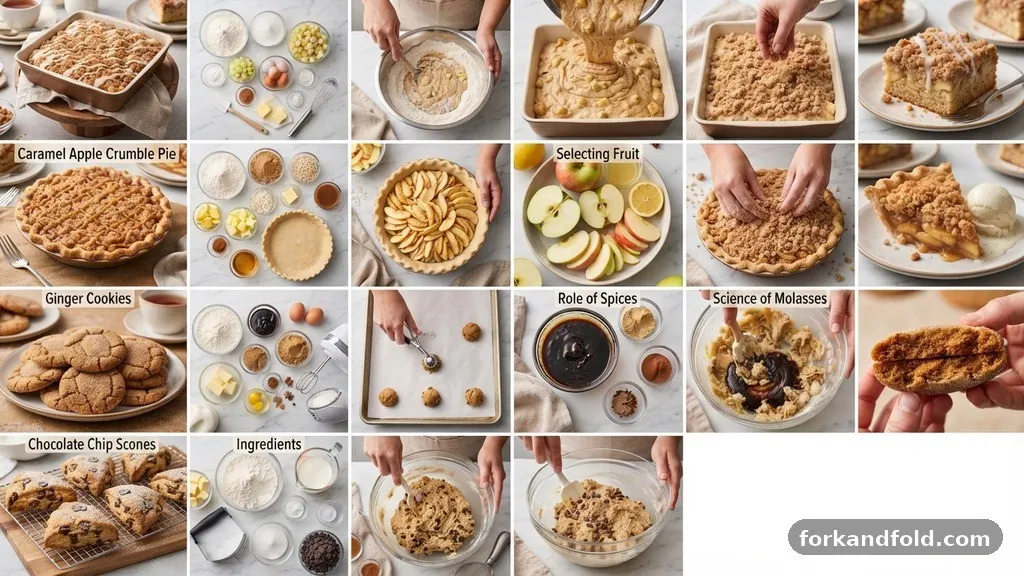
- Preheat your oven to 400°F (200°C) and line a large baking sheet with parchment paper.
- Whisk together the flour, sugar, baking powder, and salt in a large mixing bowl until evenly combined.
- Add the cold, cubed butter to the dry ingredients, using a pastry cutter or your fingers to work the butter into the flour until the mixture resembles coarse crumbs.
- Fold in the chocolate chips, ensuring they are distributed throughout the flour mixture.
- In a separate small bowl, whisk together the heavy cream, egg, and vanilla extract.
- Pour the wet ingredients into the dry mixture and stir gently until just combined; the dough should look slightly shaggy.
- Turn the dough onto a lightly floured surface and gently pat it into a round disc about 1 inch thick.
- Cut the round into eight equal wedges using a sharp knife or bench scraper.
- Place the wedges on the prepared baking sheet, spacing them at least 2 inches apart.
- Brush the tops with a little extra heavy cream for color and bake for 18 to 22 minutes until golden brown.
- Transfer the pastries to a wire rack to cool for at least 10 minutes before serving.
Mastering the Dough
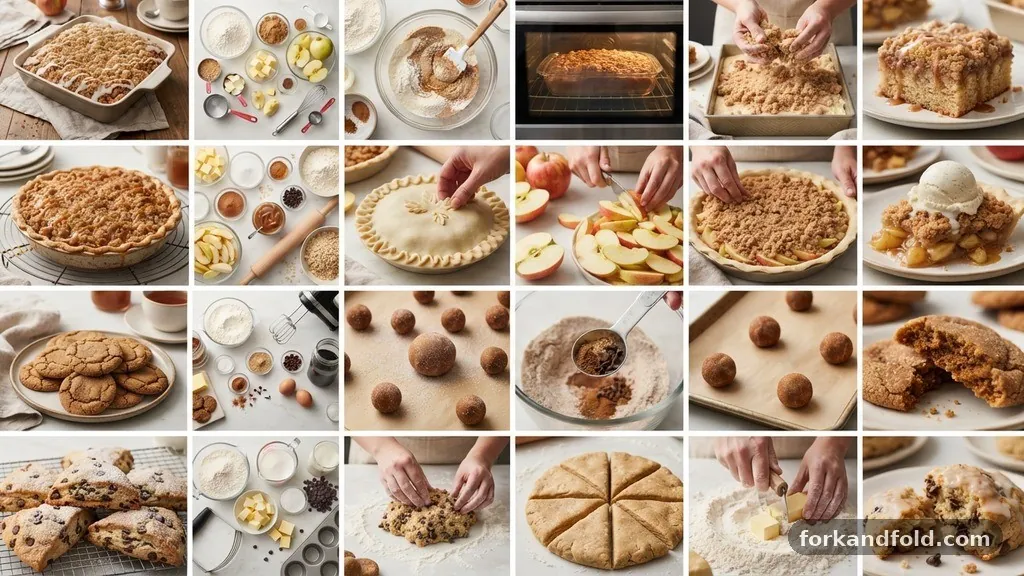
The secret to achieving the perfect texture in your Chocolate Chip Scones lies in the temperature of your ingredients. Always use butter that is straight from the refrigerator, as cold butter creates steam pockets during the baking process. These tiny pockets are responsible for the light, flaky layers that distinguish a high-quality pastry from a dense, biscuit-like product.
When you begin to mix your ingredients, avoid overworking the dough. If you handle the mixture too much, the heat from your hands will soften the butter, leading to a tough and flat result.
Instead, use a light touch and stop mixing the moment the dry ingredients are moistened by the cream. This gentle approach ensures that the final product remains tender and soft on the inside.
For those interested in the science of leavening, you can learn more about how baking powder works to create lift in various recipes. Understanding this chemical reaction helps you troubleshoot your baking projects when things do not rise quite as expected. Always check your leavening agents for freshness, as expired powder will prevent your scones from reaching their full potential.
Preparation and Chilling
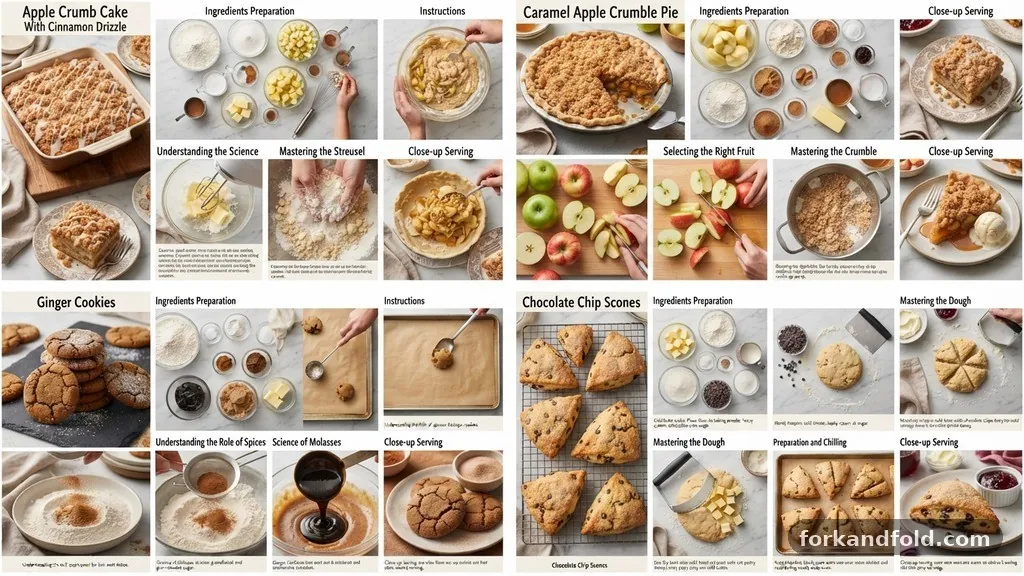
One of the most effective strategies for success is to freeze your shaped dough before it ever touches the oven. After you have cut your wedges, place them on a tray and put them in the freezer for about 15 minutes. This cooling period helps the butter solidify again, which prevents the scones from spreading too much during the initial blast of heat.
If you prefer to plan ahead, you can keep the unbaked dough in the freezer for up to two weeks. Simply store the frozen wedges in an airtight container or a heavy-duty freezer bag. When you are ready to bake, you do not need to thaw them; just add a few extra minutes to the total baking time to account for the frozen state.
Keeping the kitchen environment cool while you work can also make a significant difference. If your kitchen is particularly warm, consider placing your mixing bowl in the refrigerator for a few minutes before you begin. These small adjustments cumulatively impact the final structure of your chocolate chip treats.
Choosing Your Chocolate
While standard semi-sweet chocolate chips are the classic choice, you have plenty of room to experiment with the flavor profile. Dark chocolate chunks often provide a more intense, sophisticated cocoa flavor that cuts through the sweetness of the dough. You can also try using white chocolate chips or even a mixture of milk and dark varieties for added complexity.
If you choose to use chocolate bars instead of chips, chop them into irregular pieces of varying sizes. These shards melt differently than uniform chips, creating pools of chocolate throughout the interior. This method adds an artisan quality to your baking that is sure to impress anyone sharing the snack with you.
Be mindful of the quantity of mix-ins you add to your recipe. While it is tempting to overload the dough, too many chips can interfere with the structural integrity of the wedge. Stick to the recommended half-cup measurement to ensure that the pastry holds its shape while still providing a chocolatey bite in every single mouthful.
Achieving the Perfect Bake
Monitoring your oven closely during the final minutes is essential for a consistent result. Ovens can vary significantly in their actual temperature, so it is helpful to look for visual cues rather than relying solely on the clock. You are looking for a deep, golden brown color on the edges and tops of the pastries.
The texture of the bottom should be firm and slightly toasted when you carefully lift one with a spatula. If the tops are browning too quickly before the center is set, you can loosely tent a piece of aluminum foil over the baking sheet. This simple trick allows the interior to finish baking without burning the delicate exterior crust.
Always allow the finished goods to sit on a wire cooling rack for at least 10 minutes. This cooling period is not just for temperature safety; it allows the internal steam to dissipate slightly, which sets the crumb. If you cut into them while they are piping hot, they may appear doughy or fall apart despite being fully cooked.
Frequently Asked Questions
Why are my scones tough instead of flaky?
Toughness is almost always a result of overworking the dough or using warm butter. Ensure your butter is cold, handle the dough as little as possible, and stop mixing as soon as the ingredients come together.
Can I use milk instead of heavy cream?
You can use whole milk, but the final result will be less rich and tender. Heavy cream provides the necessary fat content that creates a luxurious, soft texture in the finished pastry.
How do I store leftovers for the best taste?
Store your cooled treats in an airtight container at room temperature for up to two days. For longer storage, freeze them and reheat them in a 350°F oven for about 5 minutes to restore their crisp exterior.
What is the benefit of chilling the dough?
Chilling the dough ensures that the butter remains solid until it reaches the oven. This creates distinct layers of pastry as the water in the butter evaporates, resulting in a much lighter and flakier texture.
Is it possible to make these without an egg?
The egg provides structure and richness, but you can omit it if necessary. If you do, replace the egg with an equal volume of heavy cream or sour cream to maintain the moisture level of the dough.
Conclusion
Creating delicious Chocolate Chip Scones at home is a rewarding process that relies on simple techniques and high-quality ingredients. By keeping your butter cold and handling the dough with care, you consistently produce pastries that rival those found in the best bakeries. These small steps in preparation make a world of difference in the final texture and flavor of your baked goods.
Whether you are hosting a morning brunch or simply treating yourself, these pastries offer a comforting and indulgent experience. Feel free to experiment with different types of chocolate or even add a pinch of sea salt on top to enhance the flavors. We encourage you to get into the kitchen and try this recipe today, then share your results with friends and family to see how much they appreciate a homemade touch.
Chocolate Chip Scones
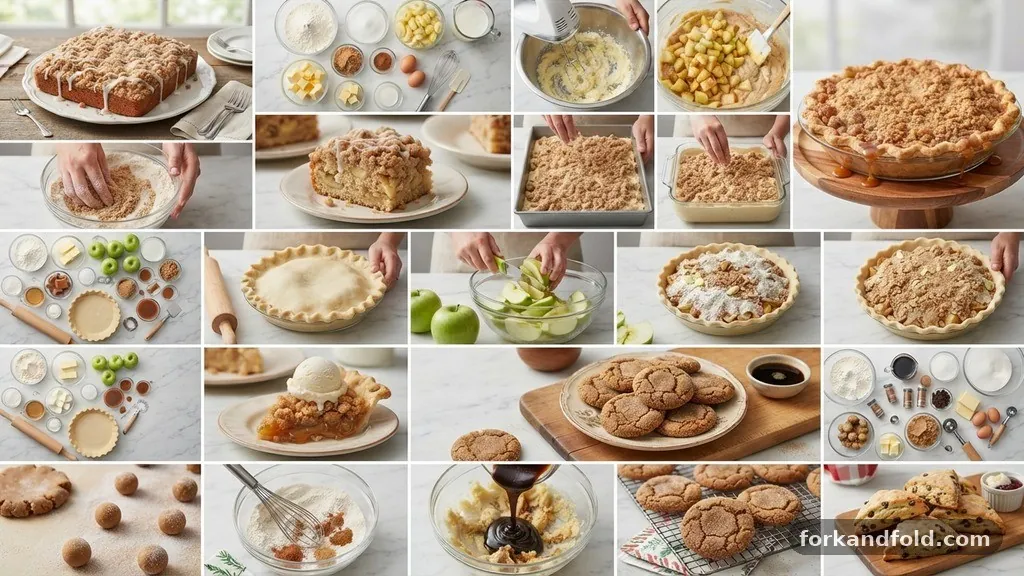
Baking a fresh batch of Chocolate Chip Scones at home transforms a simple morning routine into a cafe-quality experience. These pastries strike the perfect balance between a buttery, tender crumb and the rich, melting sweetness of semi-sweet chocolate.
Ingredients
- 2 cups all-purpose flour
- 1/3 cup granulated sugar
- 1 tablespoon baking powder
- 1/4 teaspoon salt
- 6 tablespoons cold unsalted butter , cubed
- 1/2 cup semi-sweet chocolate chips
- 1/2 cup heavy cream , plus extra for brushing
- 1 large egg
- 1 teaspoon vanilla extract
Instructions
- Preheat your oven to 400°F (200°C) and line a large baking sheet with parchment paper.
- Whisk together the flour, sugar, baking powder, and salt in a large mixing bowl until evenly combined.
- Add the cold, cubed butter to the dry ingredients, using a pastry cutter or your fingers to work the butter into the flour until the mixture resembles coarse crumbs.
- Fold in the chocolate chips, ensuring they are distributed throughout the flour mixture.
- In a separate small bowl, whisk together the heavy cream, egg, and vanilla extract.
- Pour the wet ingredients into the dry mixture and stir gently until just combined; the dough should look slightly shaggy.
- Turn the dough onto a lightly floured surface and gently pat it into a round disc about 1 inch thick.
- Cut the round into eight equal wedges using a sharp knife or bench scraper.
- Place the wedges on the prepared baking sheet, spacing them at least 2 inches apart.
- Brush the tops with a little extra heavy cream for color and bake for 18 to 22 minutes until golden brown .
- Transfer the pastries to a wire rack to cool for at least 10 minutes before serving.